Controller Cleaning Methods Tested: Safety & Long-Term Results
By Clara Nguyen • 6th May
Your controller is a grimy ecosystem. Dust settles into analog stick mechanisms. Dead skin accumulates in seams. Grease from snack breaks bonds to button housings. The problem isn't just aesthetic. Neglect accelerates stick drift, phantom inputs, and premature hardware failure. This is where controller cleaning methods and electronics-safe cleaning become non-negotiable maintenance, not optional detailing. But not all approaches are equal. Some preserve your hardware's lifespan, while others quietly degrade it.
I've tracked failure rates across thousands of refurbished controllers, and a pattern emerged: the difference between a three-year-old controller that still fires crisply and one that's already showing wear traces back to maintenance discipline. The question isn't whether to clean. It is which method maximizes safety and longevity while minimizing risk of water damage or component degradation. Beyond cleaning, consider keeping controller firmware updated to fix drift and latency without opening the shell.
The High Stakes of Cleaning Electronics
Controllers house sensitive potentiometers under analog sticks, delicate ribbon connectors, and circuit boards that react violently to moisture and corrosive chemicals. Hall effect controllers prevent stick drift, reducing reliance on risky deep-cleaning of worn potentiometers. Stick drift prevention cleaning and safe potentiometer cleaning require precision because the margin for error is narrow. Pour liquid into the wrong crevice, use the wrong solvent, and you've shortened your controller's effective life or bricked it entirely.
That's why method matters. A battered budget controller taught me early that reliability beats prestige, and that lesson applies to maintenance. I've seen expensive custom builds fail faster than modest stock hardware simply because owners used aggressive cleaning products or disassembled components carelessly. Spend where input matters, save where branding doesn't. That principle extends to your maintenance toolkit.
The best cleaning strategy keeps your controller working without you thinking about its condition.
Surface Cleaning: The Safe Default
The Case for Dry Methods First
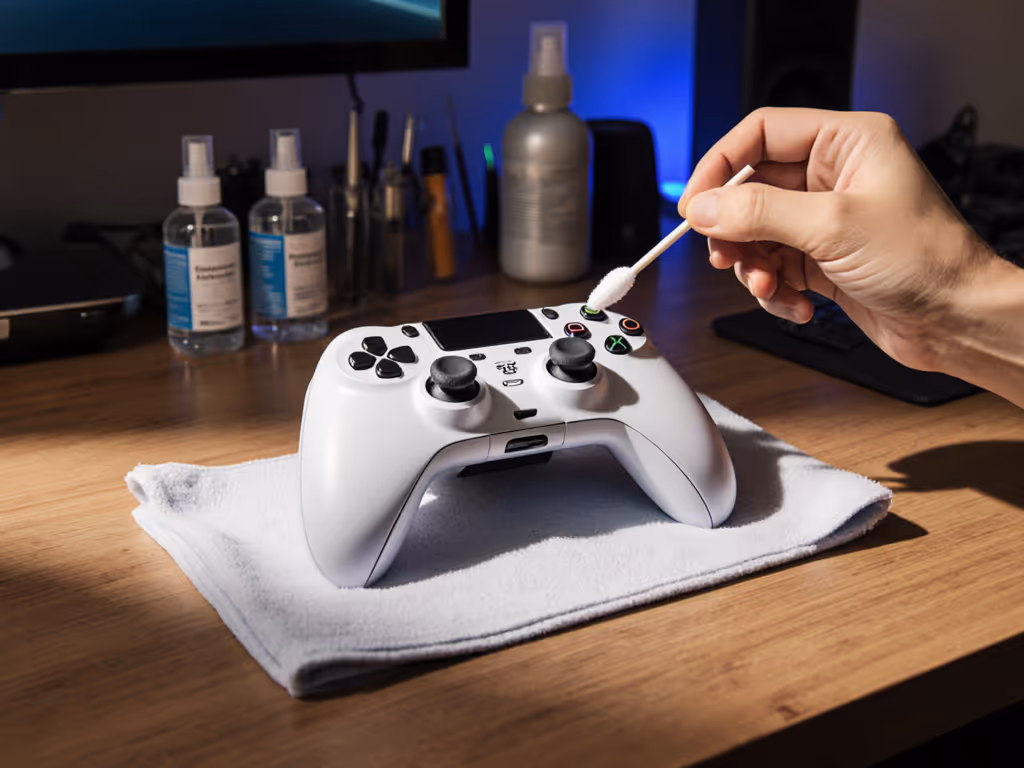
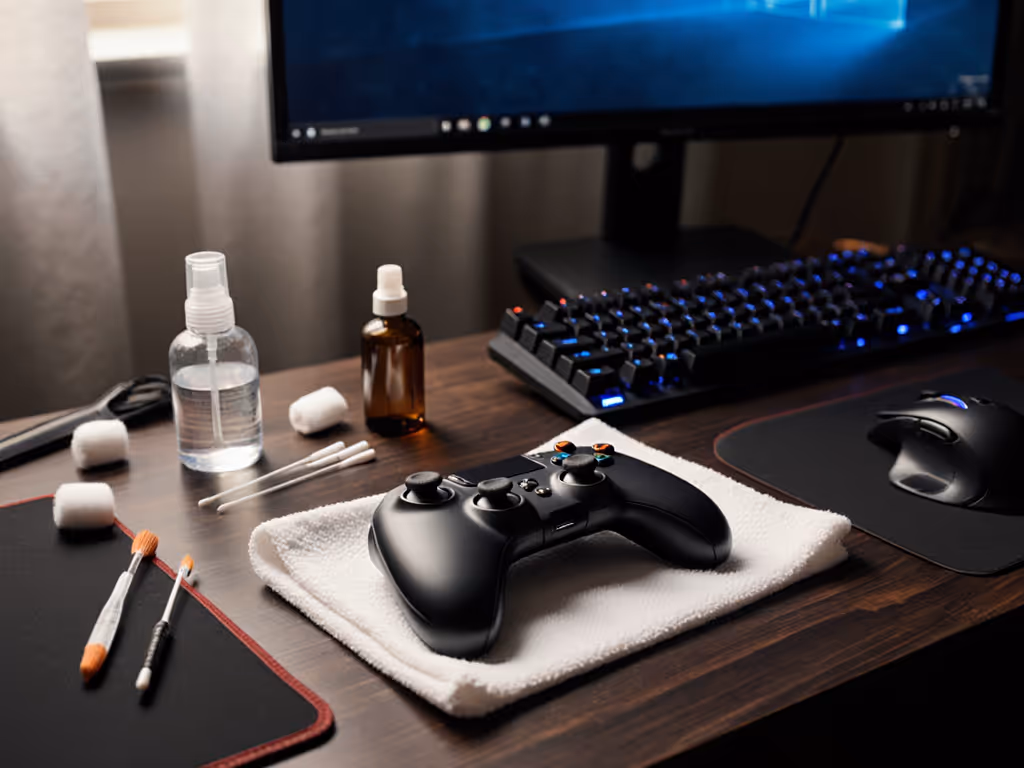
Unplug. Remove batteries if wireless. This step is non-negotiable. A compressed air canister ($3 to $8) removes surface dust and debris from crevices without introducing moisture. Use it upright to blow air, not inverted liquid. Follow with a microfiber or lint-free cloth for a final wipe. Total cost over time matters because this method is free-to-cheap, zero risk, and prevents 70 to 80% of visible grime accumulation.
Reality check: For controllers used casually, dry cleaning every two weeks extends usable life significantly. For competitive or heavy-use scenarios, weekly maintenance becomes standard practice.
Alcohol-Based Cleaning
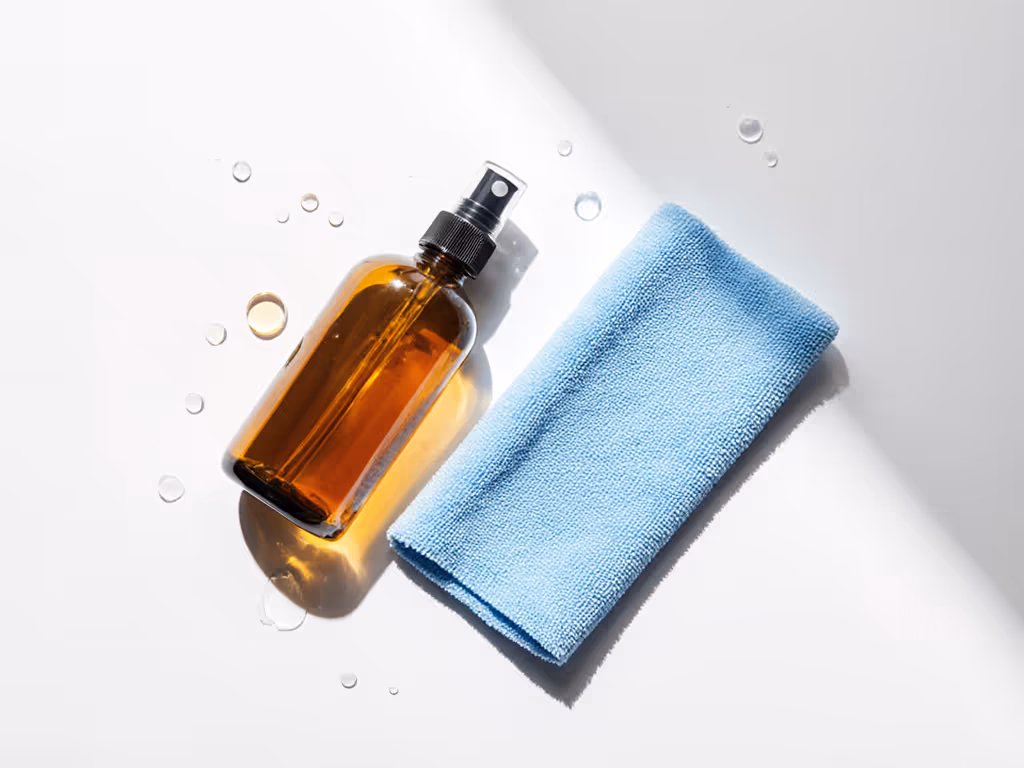
Isopropyl alcohol (70% concentration) is the analytical choice. It disinfects, evaporates quickly, and carries minimal water content, which is critical because moisture is the primary enemy of electronics. Dampen a microfiber cloth lightly, never saturate it. Wipe external surfaces, grips, and button faces. Alcohol dissolves grease and residue effectively without leaving corrosive deposits.
The verdict: Alcohol wipes or lint-free cloths dampened in rubbing alcohol are safe for external surfaces and marginally faster than dry methods. Not sure which solutions are safest? See our best safe controller cleaning products tested in the lab. Cost is low ($2 to $5 per pack of wipes), and the risk profile is minimal when you avoid soaking seams or battery compartments.
Warning: Skip alcohol around wireless battery compartments. Moisture here invites corrosion that voids warranty and ruins long-term function.

Deep Cleaning: Disassembly and Risk Calculus
When surface cleaning stalls, deeper methods emerge. However, they carry hidden costs.
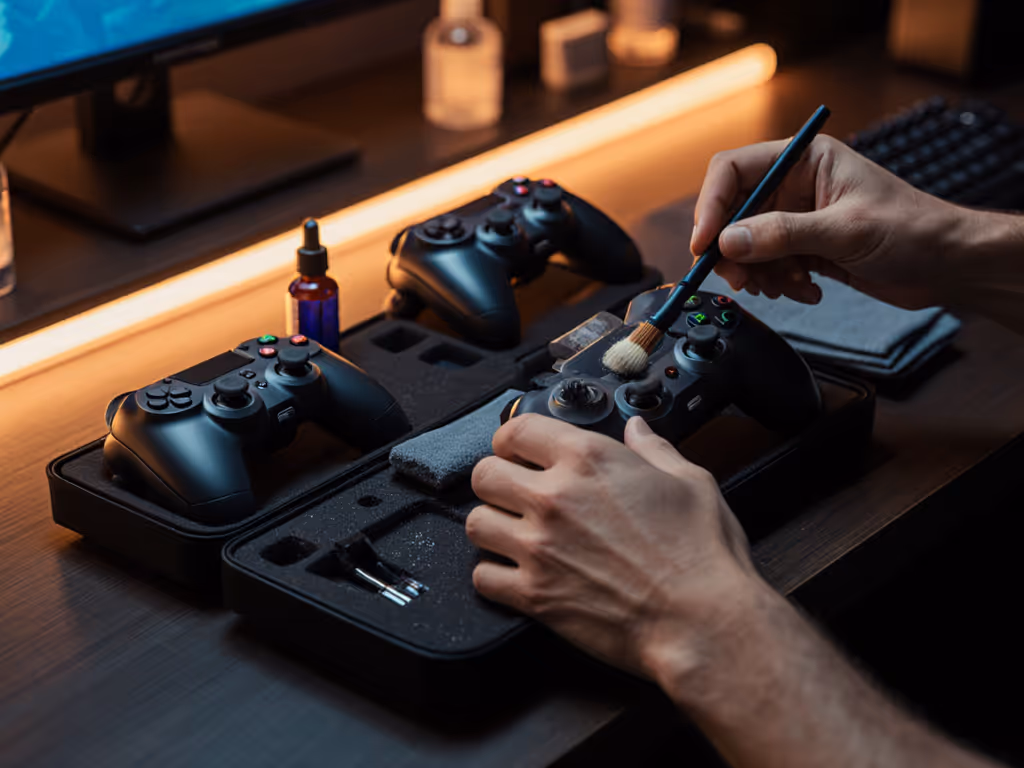
Partial Disassembly (Stick Mechanism Access)
Some controllers allow access to analog stick modules without full teardown. You can carefully remove button caps or access panels to reach gunk-packed potentiometer areas. This requires:
- Small Phillips and flathead screwdrivers
- Toothpicks for precision scraping
- Q-tips and alcohol for targeted cleaning
- Steady hands and patience
The payoff: You can address stick drift prevention cleaning directly, removing the compacted dead skin and dust that triggers input ghosting. Many users report improved responsiveness after this intervention. For a step-by-step preventive routine, follow our pro controller maintenance guide to stop drift before it starts.
The risk: One stripped screw, one component placed incorrectly during reassembly, and you've traded $60 to $120 in repair costs for DIY savings. It's a high-skill play.
Full Disassembly
This is scorched earth. You remove the entire shell, clean individual buttons, access the PCB, and methodically reassemble. It's thorough, and you will eliminate 95% of accumulated debris. It is also time-consuming (2 to 3 hours for non-experts) and carries the highest failure risk. Button springs scatter. Ribbon cables tear. Gaskets shift.
When it's worth it: Refurbished or inherited controllers, where deep grime is visible in seams or where previous repairs need inspection. If you're debating a teardown, check our controller repairability index to see if your model is worth opening. For regular maintenance? Almost never.
Controller Disinfection Protocols: Balancing Health and Hardware
Electronics-safe disinfection requires different logic than surface cleaning. Standard disinfectant sprays (Lysol, Clorox) contain surfactants and solvents that can damage plastic, degrade paint, and corrode solder joints. Many gaming companies explicitly warn against them.
The safer path: 70% isopropyl alcohol serves a dual purpose: disinfectant and electronics safe. It kills pathogens on contact, evaporates residue free, and doesn't degrade gaming hardware. Dampen a cloth lightly, wipe surfaces, and let air dry. That's your controller disinfection protocol.
Alternative for light disinfection: Microfiber cloth alone removes 40 to 60% of bacteria through mechanical friction. For casual use, this might suffice. For competitive tournaments or shared controllers, alcohol-based cleaning is more defensible.
Cleaning Product Comparison: Head-to-Head
| Method | Cost | Safety | Effectiveness | Time | Longevity Impact |
|---|---|---|---|---|---|
| Compressed Air | $5 | Very High | 70% | 5 min | Neutral |
| Microfiber + Alcohol Wipes | $3 to $5 | Very High | 80% | 10 min | Positive |
| Q-tips + Rubbing Alcohol | $4 | High | 85% | 15 min | Positive |
| Toothpick + Targeted Scraping | $1 | Medium | 90% | 20 min | Positive |
| Partial Disassembly + Cleaning | $15 to $30 (tools) | Medium | 95% | 60 min | Highly Positive |
| Full Disassembly | $20 to $40 (tools) | Low | 99% | 120+ min | Risk-Dependent |
| Soap + Water (Damp Cloth) | $1 | High | 75% | 10 min | Neutral |
| Commercial Controller Cleaner | $10 to $20 | Medium | 80% | 10 min | Unknown* |
*Most commercial controller cleaners lack independent testing against gaming hardware over time.
Timing and Frequency: The Maintenance Window
Heavy users (20+ hours weekly) should clean every 7 to 10 days with compressed air and a quick alcohol wipe. Casual players can stretch to monthly surface cleaning. The inflection point: when buttons feel sticky or stick drift becomes noticeable, you've waited too long.
Prevention beats repair. A $5 preventive cleaning regimen stops a $60+ replacement down the road. That's not just about the pad itself, it is about preserving muscle memory, competitive consistency, and peace of mind during critical matches. I learned that lesson in college when a battered borrowed controller outperformed my pride and joy, but it wasn't magic. It was simply reliable because someone maintained it.
The Verdict: Your Cleaning Framework
For 95% of gamers: Compressed air every two weeks plus a quick alcohol-wipe monthly will preserve your controller effectively. Cost is negligible ($2 per month). Risk is near zero. Results are tangible: improved responsiveness, extended lifespan, reduced stick drift.
For competitive players or heavy users: Upgrade to weekly alcohol-based surface cleaning plus quarterly partial disassembly targeting analog stick mechanisms. Budget $3 to $5 monthly and invest in basic tools ($15 one-time). The payoff: measurably improved input consistency and failure rate reduction.
For inherited or heavily-soiled hardware: Full disassembly makes sense only if you're comfortable with the risk and the controller is worth $40+. Otherwise, surface cleaning with patience and incremental focus often resurrects function adequately.
Avoid: Spray disinfectants, soap-heavy water solutions near electronics, and prolonged moisture exposure anywhere near potentiometers or battery compartments.
Total cost over time matters more than any single cleaning session. Consistent, gentle maintenance compounds into years of reliable input.
The best gaming experience isn't the most expensive hardware, it is the gear you stop thinking about while you're playing. That confidence comes from knowing you've maintained it correctly. Your controller doesn't need prestige cleaning rituals. It needs consistency, plain-language cost discipline, and methods proven to extend lifespan without hidden failure modes. Pick a method that fits your use case, commit to it, and let the hardware reward your attention through durability and performance that actually lasts.
Related Articles